Installation
The installer is designed for non-technical buyers. It checks requirements, writes configuration, runs migrations, seeds required data, creates an admin account, and locks itself.
Choose Your Installation Path
| Hosting Type | Recommended Path | What To Ask Hosting Support |
|---|---|---|
| Shared hosting / cPanel | Upload files with File Manager or FTP, point domain to public, then open /install. | Can the domain document root be changed to the Laravel public folder? |
| VPS | Upload or clone files, run Composer, configure Apache/Nginx, then open /install. | Make sure PHP extensions, MySQL, Composer, and cron are installed. |
| Local XAMPP | Place the project in htdocs, create a MySQL database, and run through /install. | Use local testing only unless you know how to secure it for production. |
1. Upload Files
- Upload all project files except ignored local folders such as
vendorandnode_modules. - Run
composer install --no-dev --optimize-autoloaderif vendor is not included by your hosting workflow. - Point your domain or subdomain to the
publicdirectory.
2. Create Database
Create an empty MySQL database for InsightPilot itself. This is separate from the external business databases that users connect later.
3. Run Installer
Open https://your-domain.com/install and complete the steps:
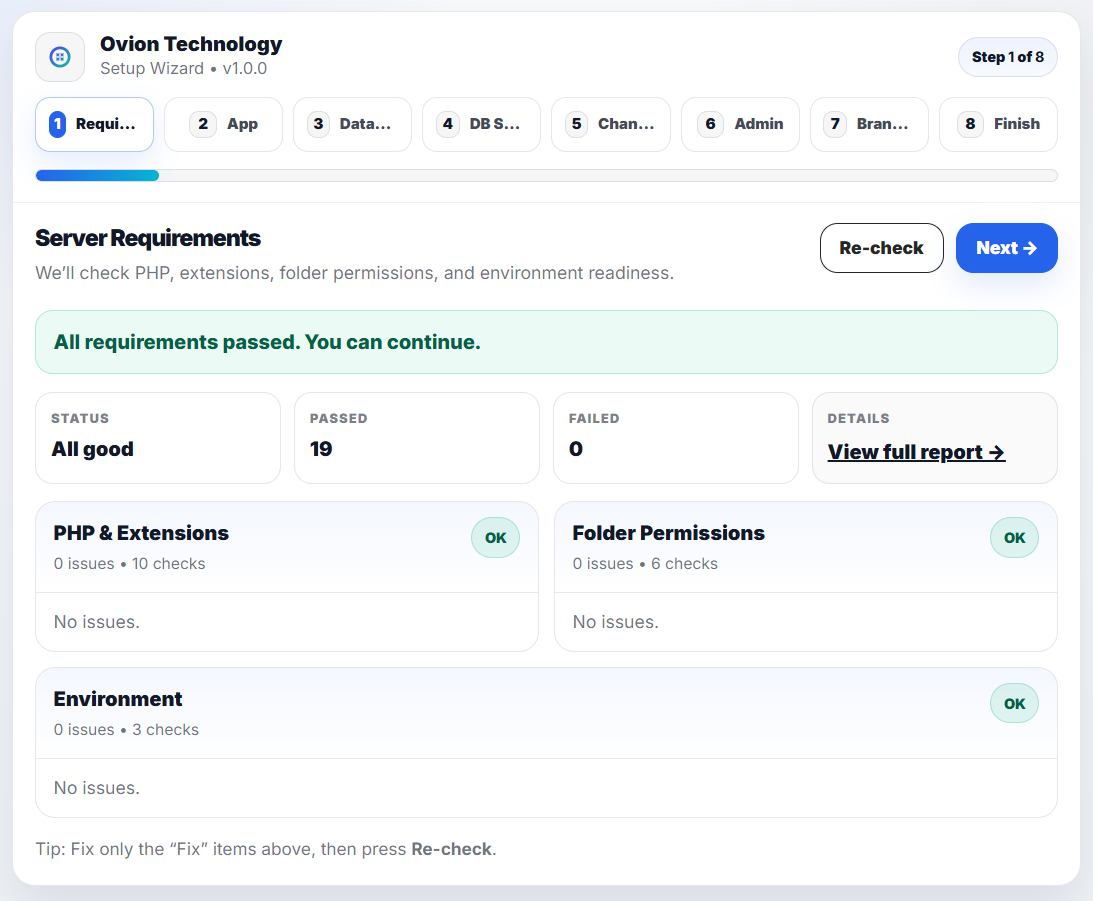
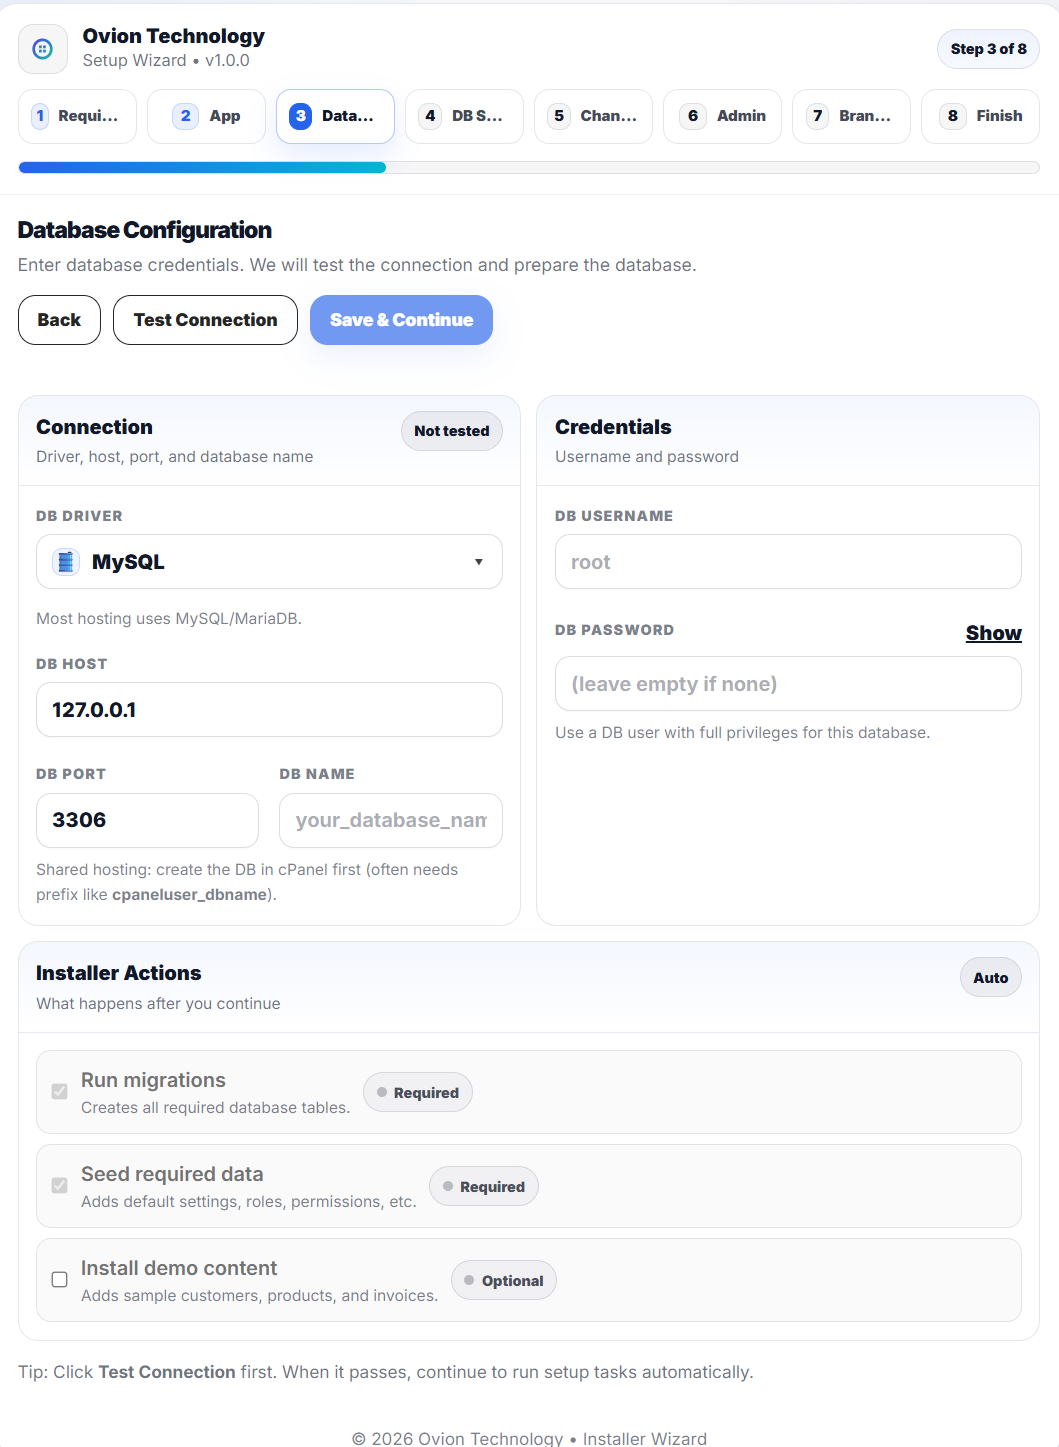
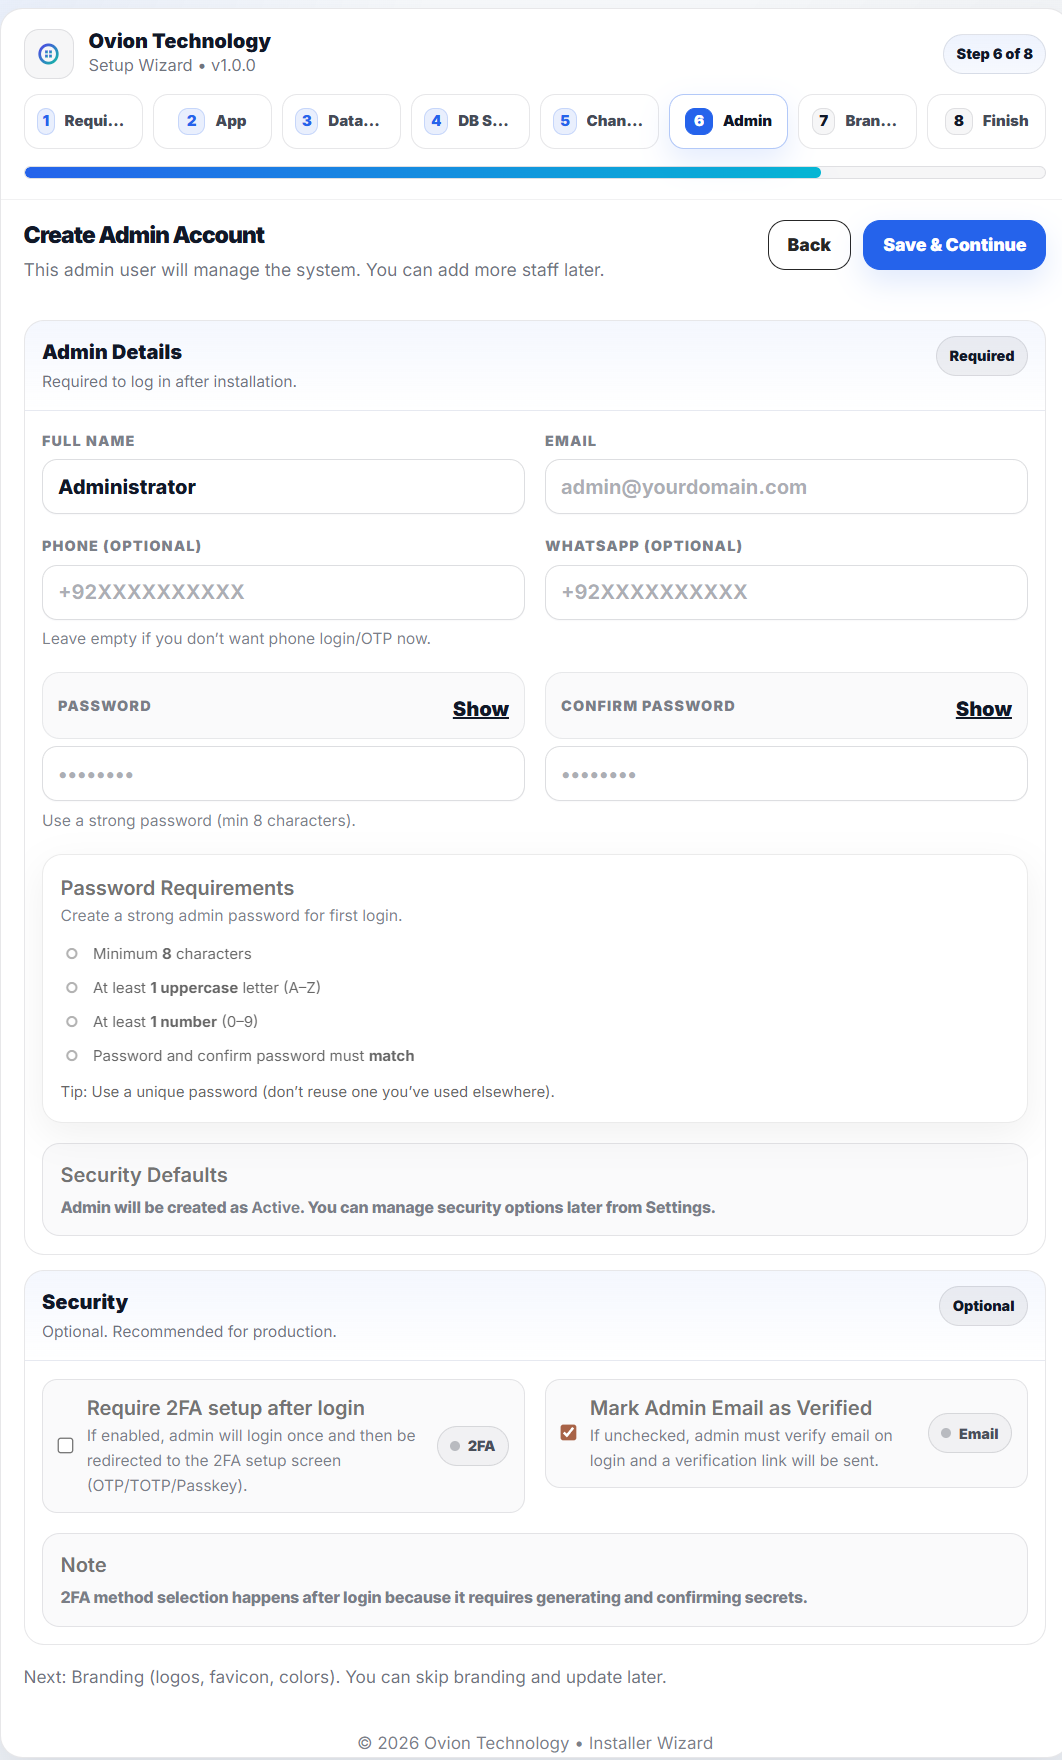
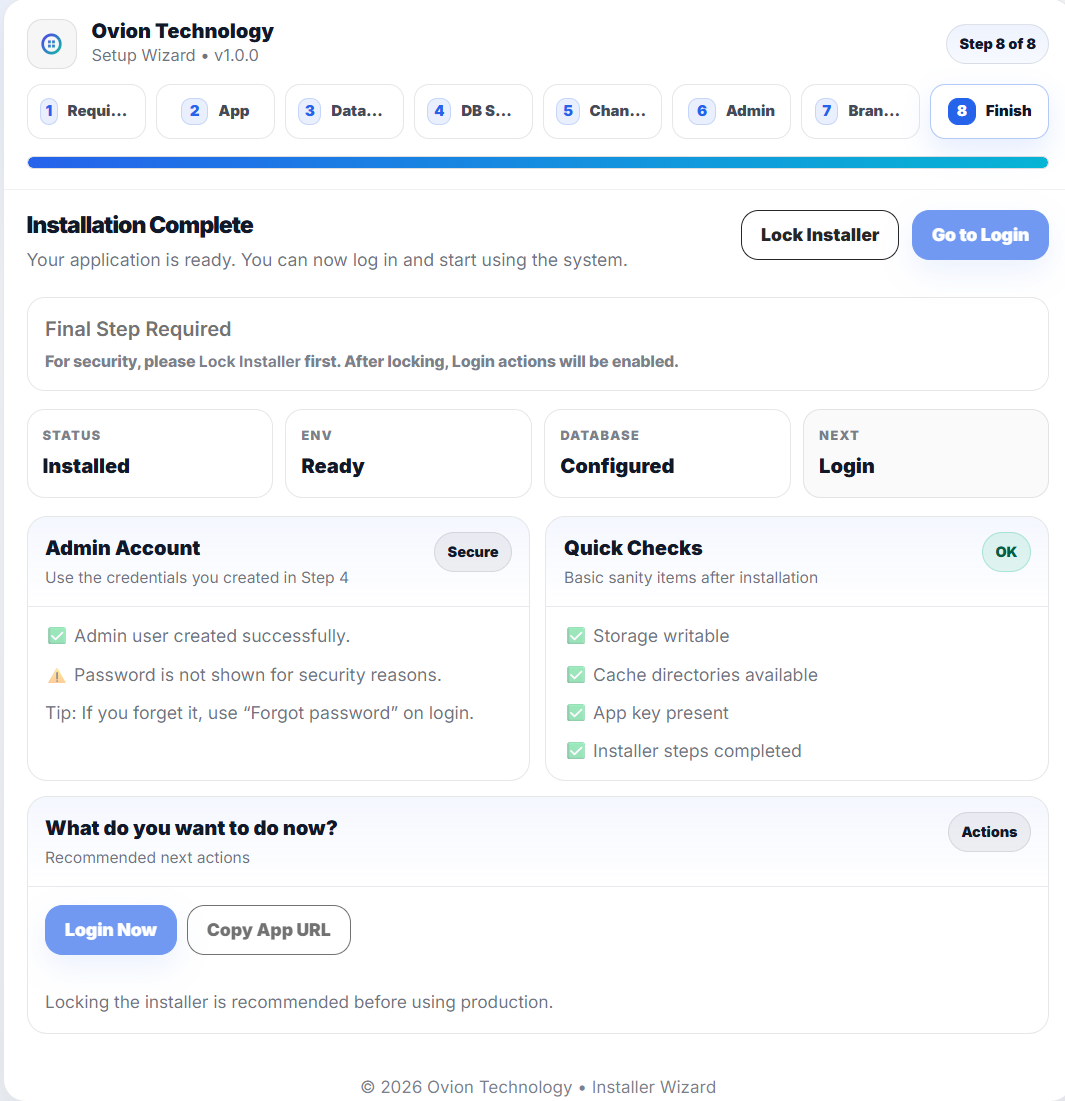
| Step | Purpose |
|---|---|
| 1 | Server requirements and permissions. |
| 2 | App name, URL, timezone, and locale. |
| 3 | Application database connection. |
| 4 | Migrations, required seeders, AI Governance default questions/rules/templates/notices/evaluations, optional demo data. |
| 5 | Mail, SMS, and WhatsApp channels. |
| 6 | Admin account creation. |
| 7 | Branding. |
| 8 | Lock installer and open login. |
4. Demo Data Option
Select demo data when preparing a live preview or evaluating the app. The installer stages demo templates during migration and attaches buyer-friendly demo dashboards, saved queries, anomalies, actions, and executive briefs after the admin account is created.
Installed Demo Command
For a locked local or live-preview environment, the v1.2 demo install command prepares the preview in one step. It migrates/seeds, creates the demo admin, creates the installed lock file, seeds demo packs, and prints useful URLs.
php artisan insightpilot:demo-installEmail: admin@ovion.tech
Password: Demo@12345--fresh only on a disposable demo database because it rebuilds the database.Manual Fallback
cp .env.example .env
php artisan key:generate --force
php artisan migrate --force
php artisan db:seed --class=Database\\Seeders\\InstallerRequiredSeeder --force
php artisan db:seed --class=Database\\Seeders\\AiGovernanceSeeder --force
php artisan storage:link
php artisan insightpilot:seed-demo
php artisan insightpilot:seed-ai-governance-demo
php artisan insightpilot:run-health-checks
php artisan optimize:clear
After Installation

- Lock the installer.
- Log in as the admin user.
- Open Settings and configure OpenAI and mail.
- Run or verify
php artisan storage:linkso document and AI Governance evidence downloads work. - Create a database connection with a read-only external DB user.
- Refresh schema discovery and enable safe tables for AI access.
- Open AI Governance and confirm default risk questions, rules, approval templates, notice templates, and evaluation tests exist.
- For a buyer preview, run
php artisan insightpilot:demo-install. It creates fictional analytics, document, and AI Governance examples. Usephp artisan insightpilot:seed-ai-governance-demoonly to refresh AI Governance records on an existing preview. - Open Launch Checklist from the InsightPilot sidebar and run readiness.
Installation Checklist
- Website opens without
/publicin the URL. storageandbootstrap/cacheare writable.- Installer completed successfully.
- Admin user can log in.
- Installer is locked.
- OpenAI settings page saves API key and model.
- Mail test sends successfully.
- Cron is configured for scheduled jobs.
php artisan insightpilot:run-ai-governanceruns without errors.php artisan insightpilot:run-health-checksruns without errors and System Health shows current findings.- Demo data is seeded if this is a live preview.
- Launch Checklist, Marketplace Readiness, and Module Readiness exports are available.